

Matzah
Homemade matzah tastes fresher and better than anything you’ll ever get out of the box. No, we weren’t raised Jewish, but we have grown up eating matzah from time to time. Mainly it’s when we take communion, whether at church or at home, and use matzah bread as one of the elements. I’ve never really liked the taste of matzah, as it is usually very bland. However, I recently found out how different fresh matzah tastes right out of the oven. Years ago, I started making fresh Challah bread, and I much prefer the flavor and texture of fresh bread (you can find our Simply Sells Challah bread recipe on our website). The first time we tried making hot fresh matzah bread, was another “oh wow” moment!

History of Matzah…
Historically, matzah has its roots in the ancient Jewish tradition and culture of the Passover celebration. Every year, Passover falls around our modern holiday of Easter. Passover is centered around the Exodus story of the Israelites fleeing bondage in ancient Egypt. Matzah bread is traditionally a flat bread with no leavening—no yeast or rising whatsoever. Some say the matzah was flat because the Israelites were fleeing so quick it didn’t have time to rise. Others say it was made that way to be easily portable and less likely to spoil.

Research of regional matzah from over 4000 years ago shows it wasn’t made from the same type of flour or grain we eat today. In fact, the Bible sometimes refers to “cakes” of matzah. We can be sure that the matzah then wasn’t in a perfect square like the industrialized boxed version we eat today. It was probably much rounder, like a disc shape, and not as thinly rolled out. Whatever the case, today’s boxed matzah usually doesn’t taste great as it’s only made with two ingredients: flour and water.

This past year with my church, I’ve started fasting for one week every three months. I found that not only is it a benefit spiritually, but also health wise too. During a recent fasting week, I felt to only eat matzah. I bet you can guess how quickly I was done with the flavor of store bought matzah. Haha! So, during that week, I decided to try and make my own. What a difference! I should let you know that our recipe is not kosher, if you’re looking to follow kosher standards.
Recipe
Preheat the oven and cookie sheet to 475℉. I start out by putting unbleached flour in my KitchenAid stand mixer. (You can also use whole wheat flour or try to mill your own from wheat berries). Second, I add just a touch of salt, and then, with the dough hook attachment, I mix in a tablespoon of water at a time. This way the mixture doesn’t end up in one big flour clump. When the dough comes together, I remove it from the KitchenAid stand mixer and put it on a lightly floured surface where I knead the dough for about 1-2 minutes. This way, the dough is easier to work with.
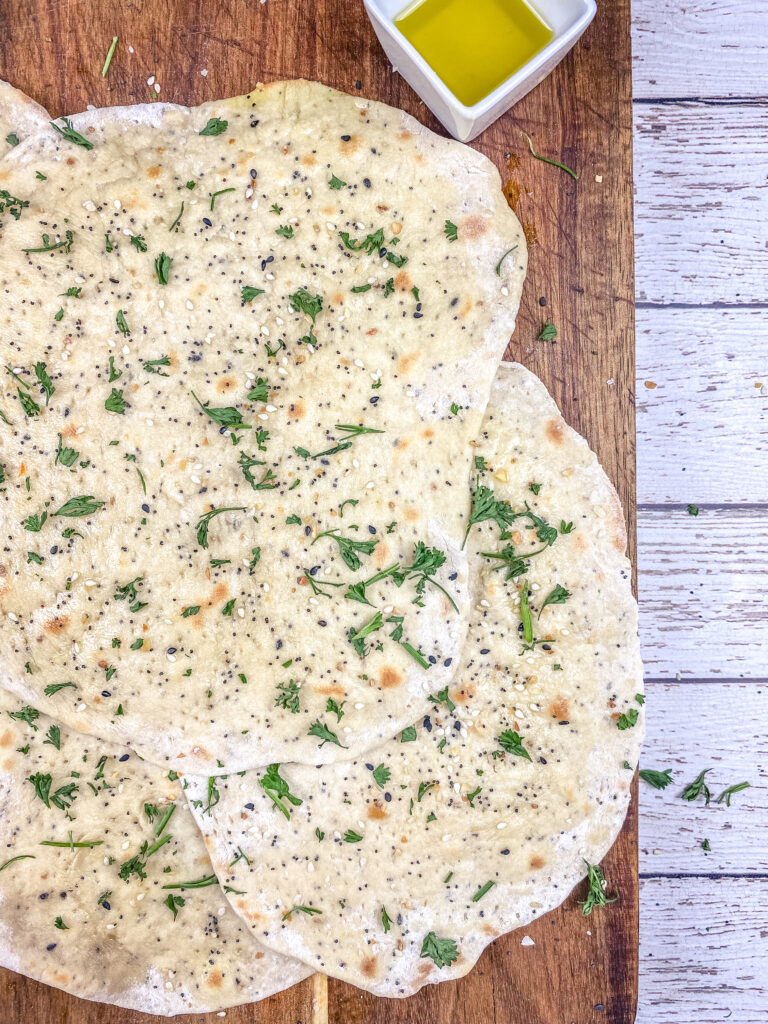
I then separate the dough into 3-4 pieces. Using a rolling pin, I roll the dough into very thin discs, and then pierce it all over with a fork to help ensure the matzah doesn’t rise. Next, I place the pieces of matzah dough on the preheated cookie sheet in the oven and cook them for 3 minutes on each side. I’ve found that if you like a crispier texture, add an extra 1-2 minutes per side. When they reach your preferred crispiness, immediately remove the matzah from the oven and enjoy the taste of your labor! I recommend brushing some olive oil on top.

Homemade matzah really is delicious on its own, but we also add it as an accompaniment to meals. We sometimes add spices to the dough as well. Try mixing in an Italian seasoning or everything bagel seasoning for a matzah that’s extra special! If you’re up to the task of making the bread in under 18 minutes and supervised by a rabbi, then you can make it kosher style. Which every way you make it, I hope you enjoy this delicious ancient bread recipe!
PrintMatzah

Ingredients
- 1 cup water
- 2 cups all purpose flour (or whole wheat flour)
- 2 teaspoons salt
- 1 tablespoon Everything Bagel Seasoning or Italian Seasoning (If desired)
- 1 tablespoon Extra virgin olive oil (for brushing on top)
Instructions
- Preheat the oven and cookie sheet to 475℉.
- In a stand mixer add the flour and salt. (If desired add in seasonings.)
- With the dough hook attachment add in a tablespoon of the water at a time. (This way the mixture doesn’t end up clumpy.)
- Mix on low until the dough comes together.
- Remove the dough from the mixer and place it on a lightly floured surface.
- Knead the dough for about 1-2 minutes. (Be careful to not over knead and flour as the dough can become tough)
- Separate the dough into 3-4 equal pieces.
- Using a rolling pin, roll the dough into very thin discs. (A bit thinner than pita bread)
- Pierce the disks of dough all over with a fork to help ensure the matzah doesn’t rise.
- Place the pieces of matzah dough on the preheated cookie sheet in the oven and cook them for 3 minutes on each side.
- Immediately remove the matzah from the oven and enjoy! (You can brush the top with fresh olive oil if you’d like)
(Tip: I’ve found that if you like a crispier texture, add an extra 1-2 minutes per side.)


